Continued from Part 1.
With a little bit of glue, some scrap wood, and a dremel, the gun is full of buttons and all ready to be wired up!


I shaped a piece of 3mm ply to act as the left outer skin for the barrel area. It'll be glued down and have the touch pad installed in the lower left corner.

The right side gets a similar treatment, but will be made removable so i can change the batteries. Soaking the plywood then clamping it in place produces a nice slight curve which fits the body of the gun well.

Here's a dummy fit of the touch pad. I just have to drill a hole underneath it to feed the cable through, then stick it down. The positioning is perfect, with forward set to left in the picture (so up is right, etc).

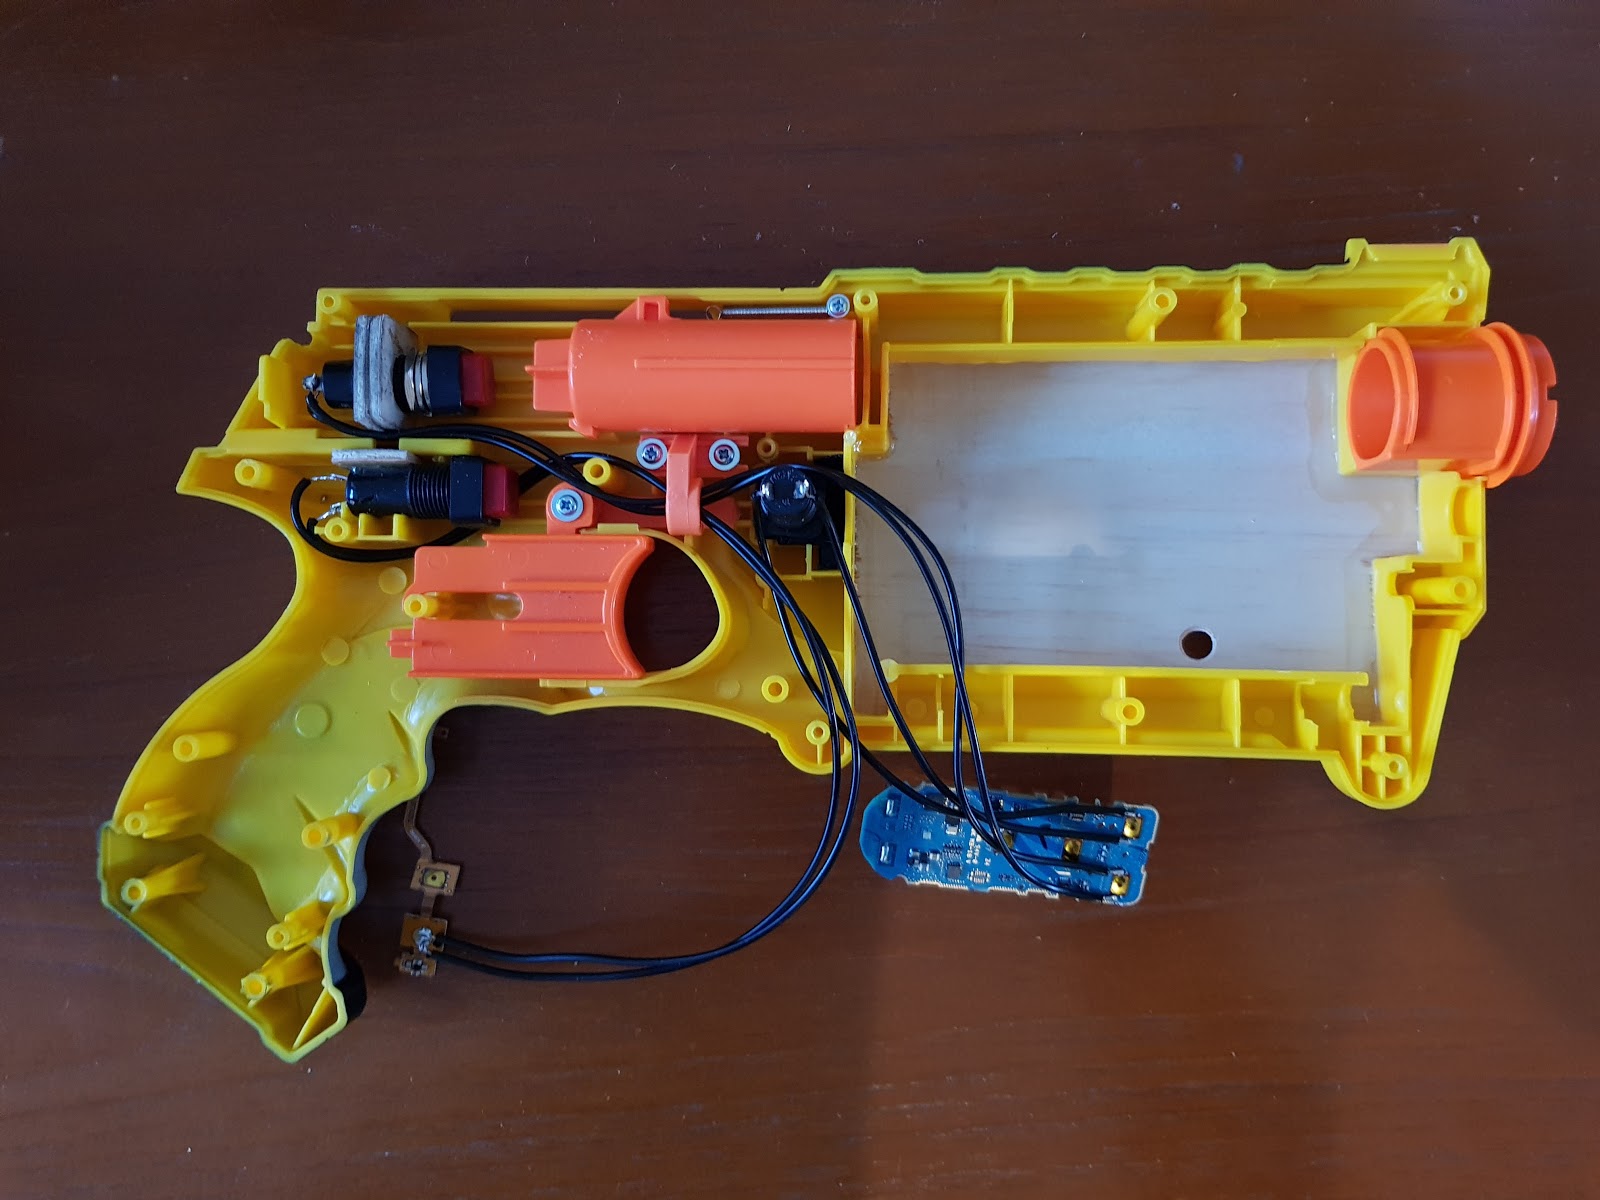
A teeny bit of soldering, and the whole thing is wired up. I couldn't be bothered to check if the controller was common-ground, so i just ran two wires per button. It's much less of a deal here than in something like an arcade stick!


And with the ply panel epoxied into place, with the pass-through hole for the touch pad.
While all that was going on, the right side plywood cover plate was being curved. I soaked the wood, then clamped it in place. This will relax the wood so it fits on smoothly without requiring much tension on the fasteners.

A little spray of black paint later, just to get closer to the original Gear VR aesthetic, and now it looks like a cosplay prop.

The touch-pad is surface mounted with a little hot-glue, with the cable fed through the hole drilled earlier. The positioning falls within easy reach for the thumb, reminiscent of the Namco GunCon.

And with the slide fitted to activate the home button, the externals are done! I'm still tossing up whether or not to paint the slide, that Nerf logo IS pretty obnoxious.

The third and final part will cover wiring up the battery pack, and fixing the PCB at the right angle. Then it's ready to go in Dead and Buried, Drop Dead, and SWAT Academy. My mum is going to love this!
No comments:
Post a Comment