My new donor PCB's arrived care of eBay, and they're exactly as cheaply made as you'd expect of knockoffs. In comparison, the official CCP is a thing of beauty.

But you get what you pay for, and i'm not here for the casing.


Hey, i can actually work with this! I was dreading finding an unsolderable, cheap mess inside, but these points are ready to go. It's even easier to work with than the Nintendo boards (but not quite as good as the Hori).
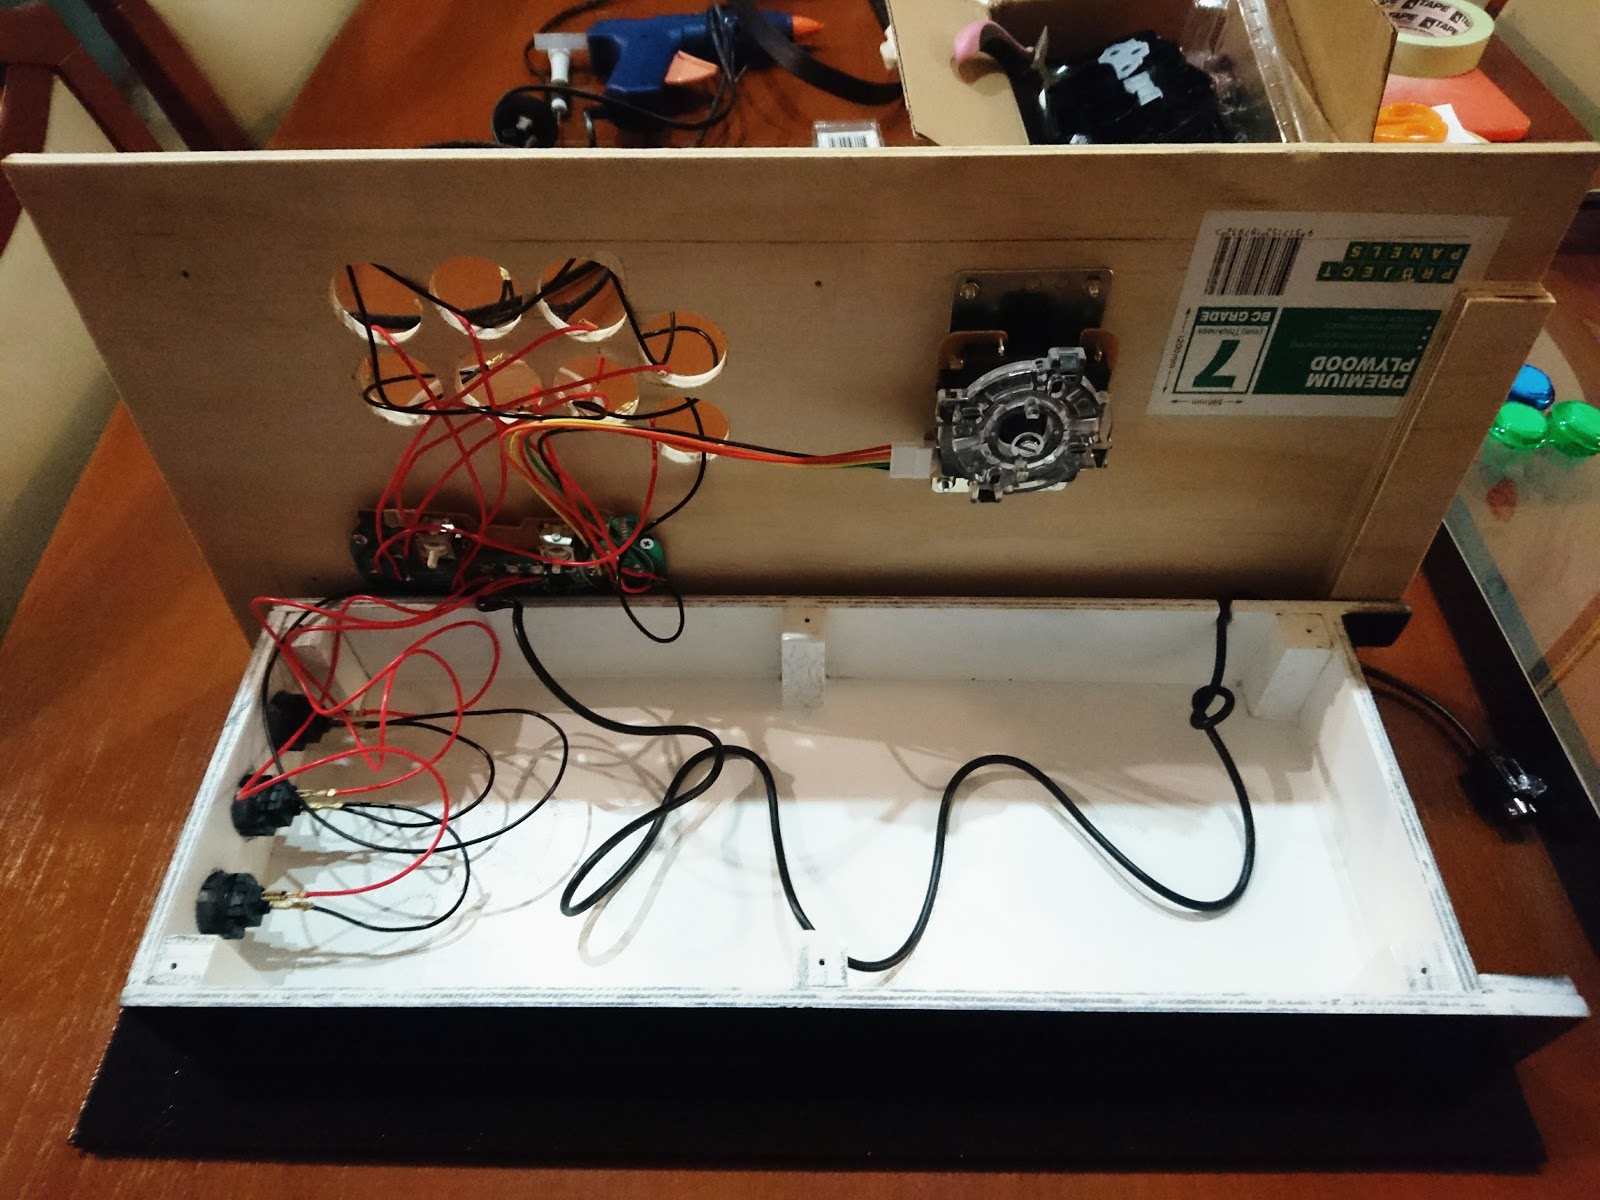
I painted the lower case black, applied three layers of polyurethane clear coat, then finished the interior with a splash of white. As you can see, the PCB is mounted to the inside of the lid. The wiring may look a bit messy, but I've daisy-chained the grounds to simplify wherever I can.


Shiny shiny. The screws are underneath the acrylic sheet, and will all be hidden by the art decal.

Outer frame is now in place to keep everything tied down. It's a simple pressure-fit, which makes removing the wiimote a breeze.

Ball top installed, and blammo, stick finished! All in all, it was only a couple of hours of actual work, a picture frame, and a sheet of cheap plywood.

Here's a comparison against my giganto Lucario stick. It's a shade thicker, but way, way quicker to build!
how to buy
ReplyDelete